Hi, everyone!
This time, we would like to introduce how you can use D3Worker to generate a PDF and upload it to DocuSign and then to store in kintone after signing.
In this article, you are going to use these D3Worker services.
- OPROARTS: Generates a PDF using CSV data sent from kintone.
- DocuSign - run WORK: This service uploads an unsigned PDF to DocuSign and run another process soon after the PDF is signed. (This time, this process is for storing the PDF in kintone.)
- Upload Document: Sends a signed PDF sent by DocuSign.
- kintone [storage]: This service sends a signed PDF to kintone and create a new record with the PDF as an attached file.
D3Worker Settings
You have to do two D3Worker settings separately as follows.
1. A WORK to generate a PDF and send it to DocuSign
2. A WORK to store a signed PDF in kintone
Since WORK 2 is referred to in the settings of service in WORK 1,
do settings for the SERVICEs, the ENVELOPE, the WORK used in WORK 2.
Settings to store a signed PDF in kintone
SERVICE Settings
Select "Upload Document" and create a SERVICE.
See this article about details.
Then, select "kintone [storage]" and create a SERVICE.
Configure it as follows.
Connection Settings
| Name | Description |
|---|---|
| URL | Enter the URL of kintone organization. |
| App ID | Enter the ID of app where you store a signed PDF. |
| API token | Enter the API token of app where you store a signed PDF. |
Document File and Data File
| Name | Description |
|---|---|
| Document file | Enter the field code of field where you store a signed PDF. |
| Data file | Enter the field code of field where you store a data file used for form generation. This time, you don't specify this item. |
Other fields: This time, you don't specify this item.
ENVELOPE Settings
Select the service based on "Upload Document" as document service.
Select the service based on "kintone [storage]" as a storage service.
WORK Settings
Data source: As this work receives DocuSign's envelope ID, prepare a field for it. Let's name it DocuSignEnvelopeID.
Envelope: Select the envelope you created and select "DocuSignEnvelopeID" as an envelope field, select "Envelope field" as "Field to be activated", then check "Use as ELSE".
Mapping data with documents: Since a signed PDF is uploaded, or no document is generated by OPROARTS, keep all items empty.
Settings to generate a PDF and send it to DocuSign
SERVICE Settings
Select "OPROARTS" and create a service.
See this article about details.
Although "OPROARTS (different account)" is used in the link, the settings are the same.
Then, select "DocuSign - run WORK" and create a SERVICE.
See this article about details.
Besides, the part that is not explained in the article above is supposed to be configured as follows.
Period of Signature Completion
| Name | Description |
|---|---|
| Period | This item specifies the period D3Worker waits for work execution after an unsigned PDF is uploaded and until the PDF is signed. Signing after this period doesn't run the subsequent work. |
Work to be run after DocuSign envelope is finished
| Name | Description |
|---|---|
| Work to Be Run | Enter the name of work to be run after a PDF is signed. In this article, this means the work to store a PDF in kintone. |
| Parameter name of file | Enter the name of parameter that holds a signed PDF at the time of WORK execution request. * Enter the parameter name you specified in WORK 2's upload document service. |
| Data CSV | Here you define the CSV data received by the WORK to be run. |
Envelope Settings
Select the SERVICE based on "OPROARTS" as a DOCUMENT SERVICE.
Select the SERVICE based on "DocuSign - run WORK" as a DELIVERY SERVICE.
WORK Settings
Data source: Define fields for data received from kintone.
ENVELOPE: Select the ENVELOPE you created, select the data field to distinguish each form ("QuotationNumber" in this article) for an ENVELOPE field, select "ENVELOPE field" for "Field to Be Activated", and then check "Use as ELSE".
Mapping Document with Data: Map the data source fields to the CSV fields of the form template.
For the template name, use the one with "live_" added in the beginning, like "live_{created_template_name}".
kintone Settings
To run the created WORK from kintone record screen, do some settings in kintone.
Add App and Plugin
Download two ZIP files from this page and add both the app and the plugin of "D3W Connector for kintone" based on those files to your kintone organization.
Install App
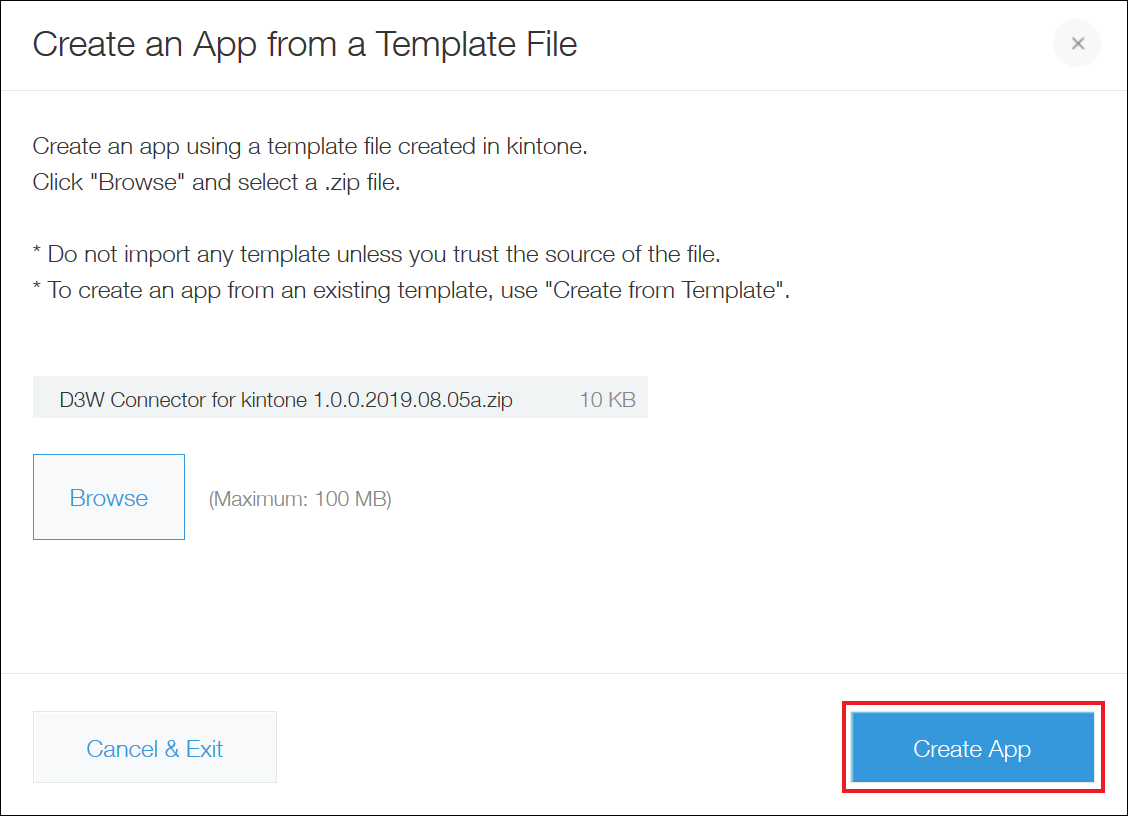
- Go to Create App > Create from Template File and select "D3W Connector for kintone 1.0.0.2019.08.05a.zip" and click "Create App".
Install Plugin
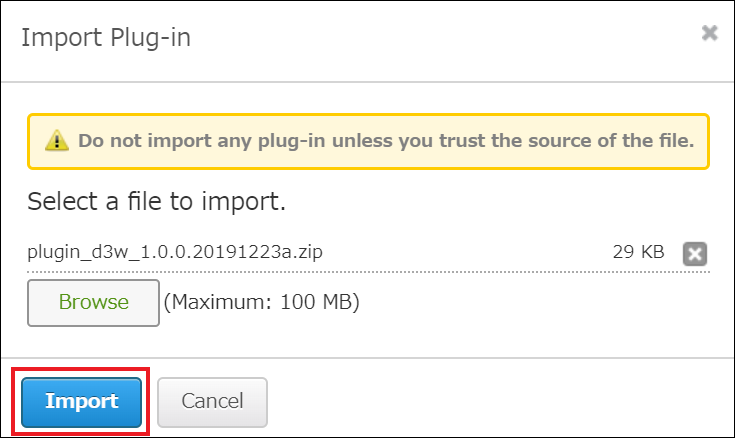
- Go to kintone Administration > Plug-ins > Import and select "plugin_d3w_1.0.0.20191223a.zip" and click "Import".
* Attached files are on the bottom of this page.
App Settings
Open D3W Connector for kintone app and configure it as follows.
- Create a record with the information below for each of two account types "Runtime" and "Administrator".
D3Worker URL:https://d3w.ap.oproarts.com/d3w/api/xxxxxxxxxxxx/
* xxxxxxx represents the tenant for each user.
User: The user who uses or manages D3Worker linkage.
UID, UPW: User ID and password for D3Worker

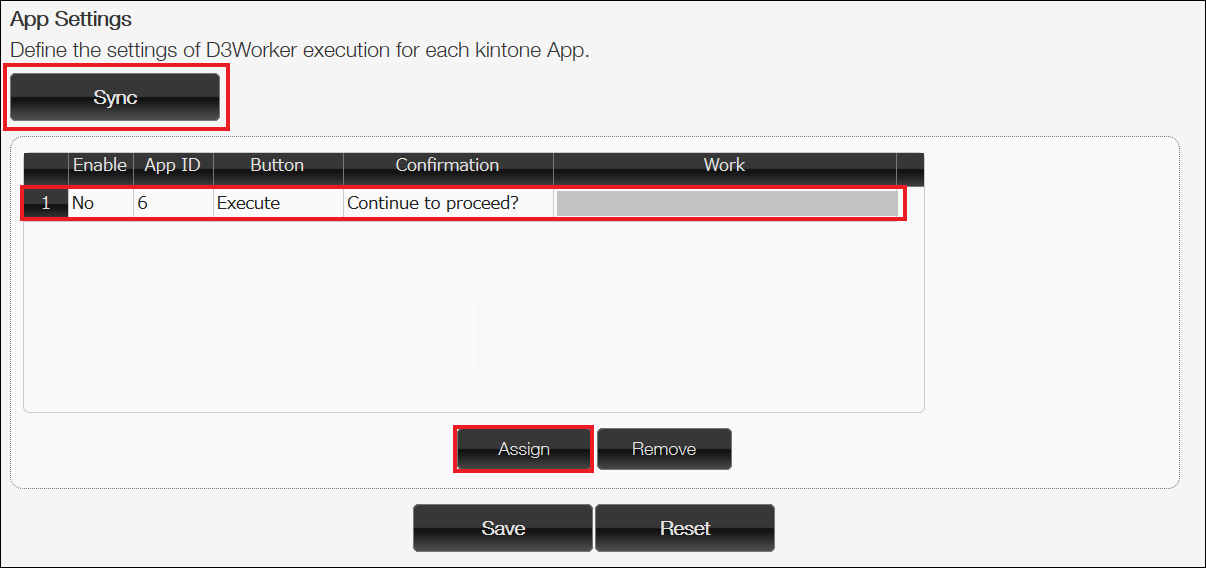
- Open the record screen of the record the account type of which is "Administrator" and click "Sync".
- Click "Assign" in App Settings and specify the ID of the app the field of which you want to use.
- Clicking "Assign" adds a row, so specify the WORK you use.
* The WORK isn't shown in the WORK option list until you do settings for D3Worker.
- Field to send: Clicking "Mapping" opens the screen of mapping between D3Worker data source and kintone app fields.
- Map the kintone app's fields to the data source.
In this chart, it is set that kinton app's "QuotationNumber" maps to data source's "QuotationNumber",
"CustomerName" maps to data source's "CustomerName"...
* If you use a sub table or related records as line items, use "Mapping (Sub Table/Related record)". - After completing the settings, click "Save".
Plugin Settings
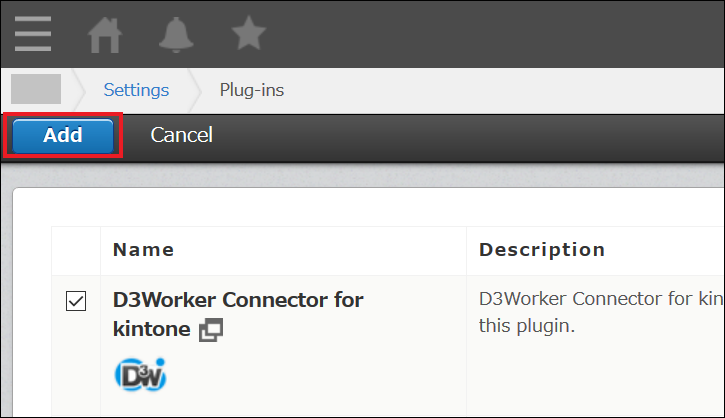
- Go to App Settings of the app that cooperates with D3Worker > Plug-ins > New, then select "D3Worker Connector for kintone" and click "Add".
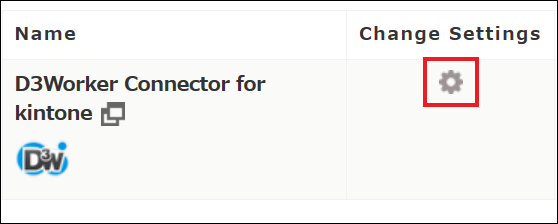
- Click the gear icon of D3Worker Connector for kintone to open the settings screen.
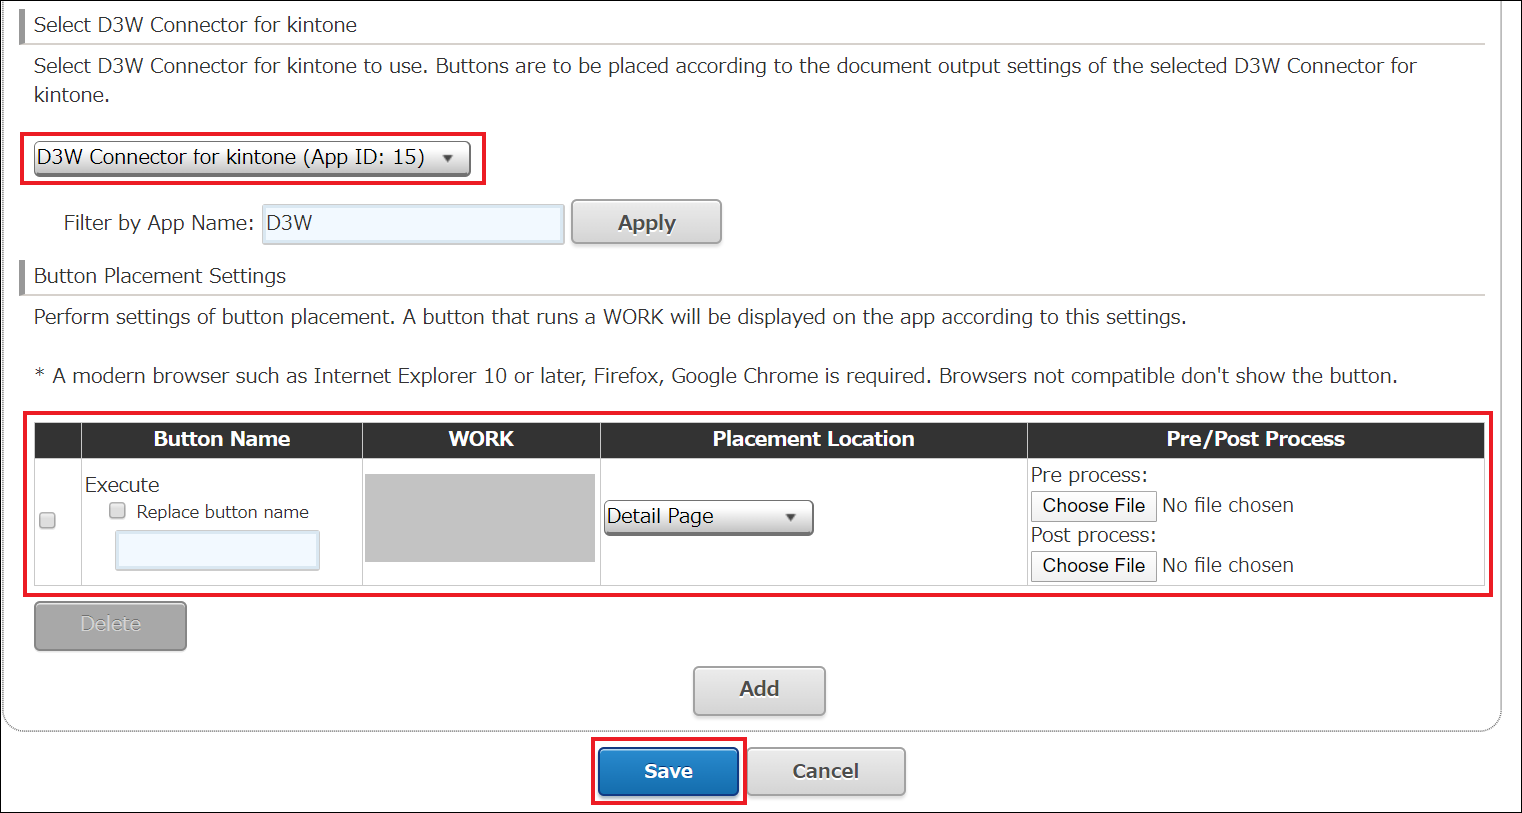
- Select the D3Worker Connector for kintone you configured in "Select OPROARTS Connector for kintone".
- Click "Add" in "Button Placement Settings" and select the button you created.
- After you added the button, click "Save".
- Click "Update App" in the app settings screen.
Actual Flow
After completing all the settings explained above, click the output button in the record screen of the app where you placed the button.
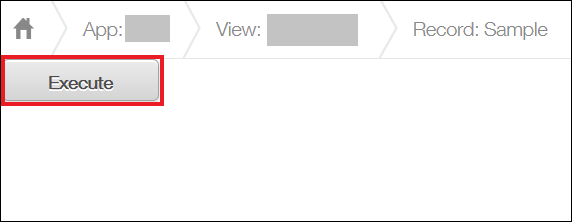
In DocuSign screen, a sign-required document is added, so get it done.

Go to kinone app and you can see a record with a signed PDF as an attached file.
* This process may take a little moment.
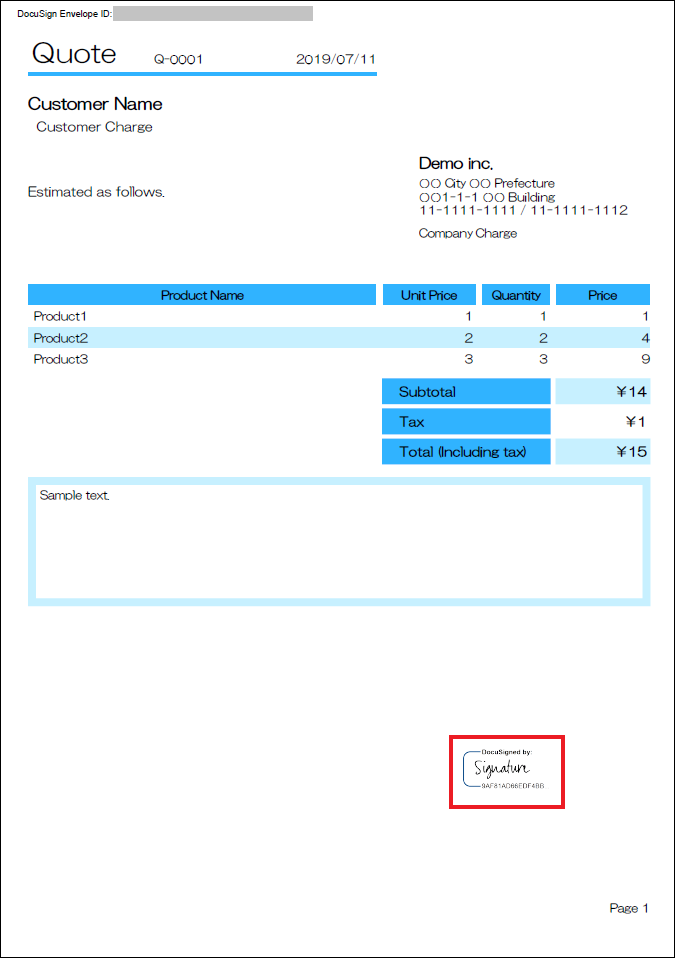
The signed PDF is like this.
Conclusion
It is expected that you save a lot of time in contract work by automating the entire process from generating and uploading PDFs to DocuSign to storing documents, with D3Worker.
We hope this article will help you integrate D3Worker with DocuSign.
Thank you for reading this article!