Hi, everyone!
This time, we would like to introduce how to output an Excel form from kintone using Connector for kintone.
* To use Connector for kintone's functions in kintone, you need to install an app and a plug-in of "OPROARTS Connector for kintone" into your kintone organization. From this page, you can download ZIP files of the app and plug-in. Use them to install the app and plug-in into your kintone organization.
* A quote-management app named as "ARTS_DEMO" is used in this article. Those who want to follow the contents of this article from the begeinning to the end should create the app. The information necessary to create it is listed below, so please refer to it to prepare the "ARTS_DEMO" app.
ARTS_DEMO app information
| Label Name | Data Type | Field Code | Formula | |
|---|---|---|---|---|
| Issue Date | Date | Date | - | |
| Customer Name | Text | Customer_Name | - | |
| Quoatation Number | Text | Quotation_Number | - | |
| Company Charge | Text | Company_Charge | - | |
| Remarks | Text Area | Remarks | - | |
| Contents | Text | Contents | - | Table |
| Unit Price | Number | UnitPrice | - | |
| Quantity | Number | Quantity | - | |
| Price | Formula | Price | UnitPrice*Quantity |
The image of the app's form settings

* You may set a default value of each item or a prefix/suffix of number item as you like.
Design a form template
To begin with, design a form template with an Office add-in "Document Designer for Office".
An example of a form design is like this.

CSV fields are defined as follows.
(It makes things easy at the time of mapping to name field names the same names as field codes of the kintone app.)
Header/Footer

Line item

The following formulas are used for values of "Subtotal", "Tax" and "Total (including tax)" in the form template.
* Cell numbers (J17, I19, I20) might be different depending on the template you create.
Subtotal
=SUM(J17)
Tax
=FLOOR.MATH(I19*0.08)
Total (including tax)
=I19+I20
Log in to OPROARTS Live and click [Create New].

Select "Upload" in [Excel] tab.

Specify CSV for Input, enter a template name, select the Excel file in which you designed a template for Excel document and click [Create].

Click [Deploy], click [Deployment] in Template Deployment Wizard and template deployment is complete.


Set up Connector for kintone in kintone
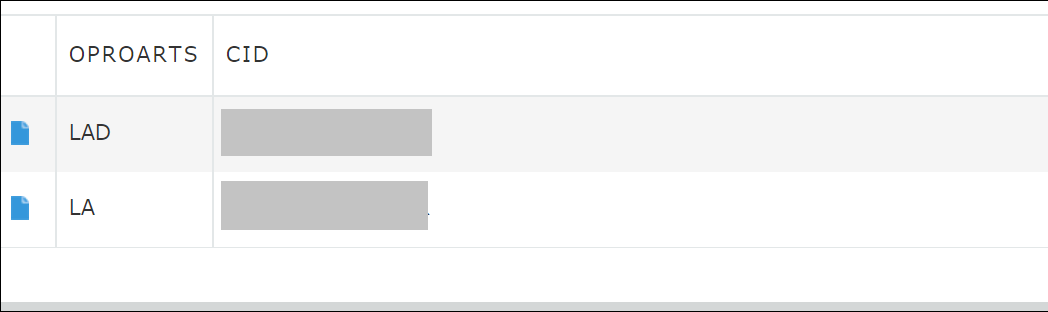
Open Connector for kintone app and register records for each of LAD license and LA license.
* LAD is a license for form design and LA is for form output. You perform settings for form template mapping and document output in a LAD license record.
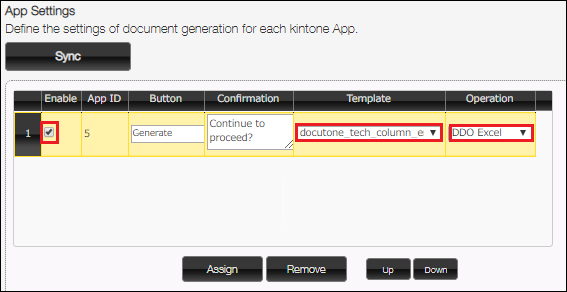
After registering records, open a "LAD" record and perform settings for output process.
Clicking [Add] in [App Settings] opens a dialog box in which you specify the app on which you place the button, so enter the app ID and click [Assign].

Check "Enable", select the template you created for "Template" and select "DDO Excel" for "Operation".
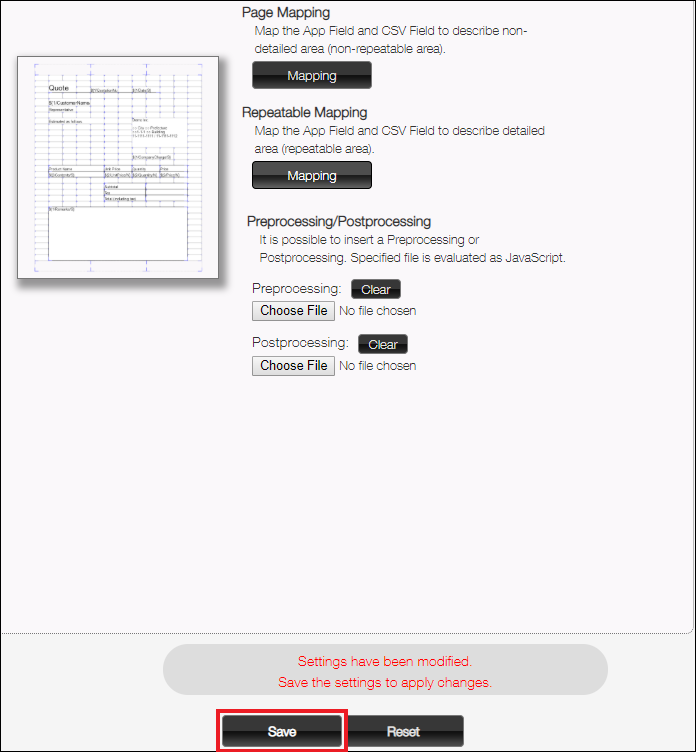
After specifying the template and the operation instruction to use, do mappings for "Page Mapping" and "Repeatable Mapping".

Click [Mapping] of "Page Mapping" and link the kintone app's fields to CSV fields of a form.
* If the app's field codes are the same as the field names of CSV fields, just clicking [Auto Mapping] finishes mapping.

For "Repeatable Mapping", do mapping in the same way.

Whereas a sub table is used here, you can also use another app for repeatable mapping by checking [Use a related record], clicking [Settings] and filling out setup fields.
After finishing mapping, click [Save].
Place an output button
Place a button to output forms based on the settings you performed in Connector for kintone app.
Click Settings of the app where you want to place a button > Plug-in > New, check "OPROARTS Connector for kintone" and click [Add].
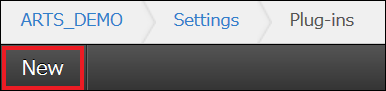
Click the gear icon of "OPROARTS Connector for kintone" plug-in and go to the plug-in settings screen.
![]()
Select an OPROARTS Connector for kintone app to use.
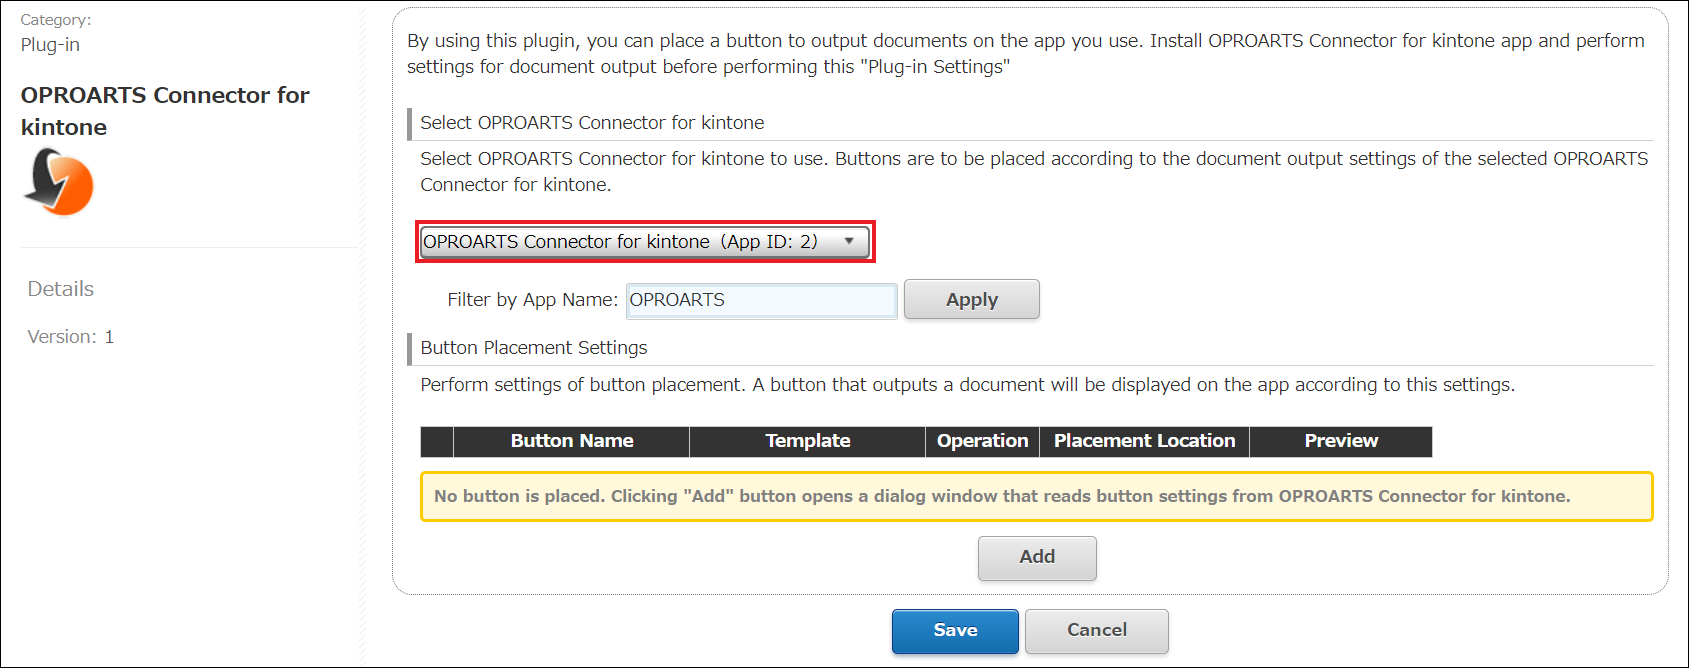
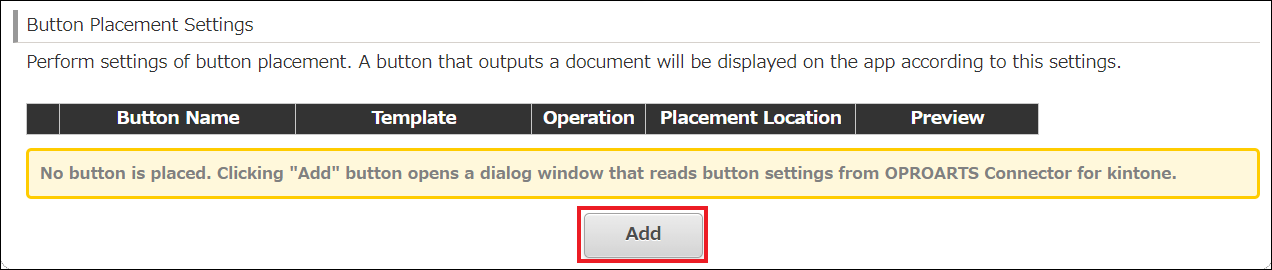
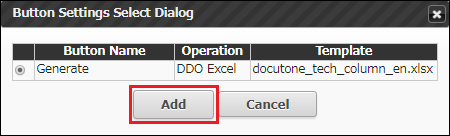
Click [Add] in "Button Placement Settings" and select the output action you set up in OPROARTS Connector for kintone app.
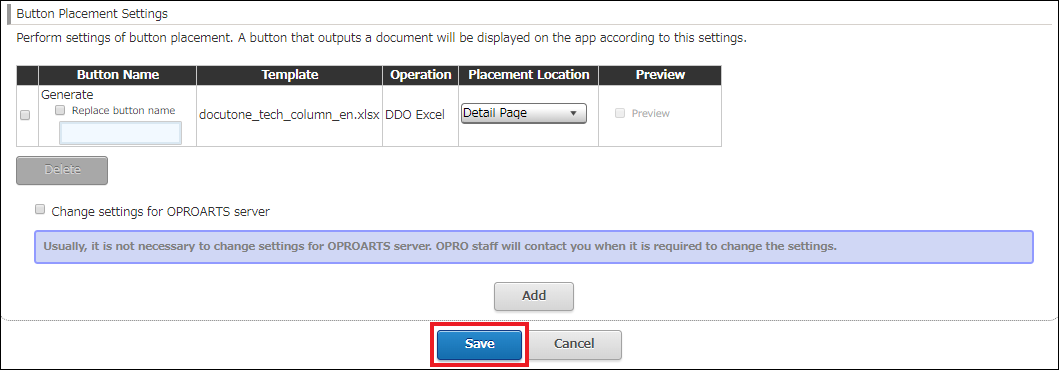
Click [Add] to add the button.
Click [Save] and update the app.
An output button is displayed in a record detail page.

Click it and an Excel form will be output.

Connector for kintone's new function enables you to output Excel forms from kintone without ViewFramer.
We hope that this article will help you output Excel forms from kintone using Connector for kintone.