Hi, everyone!
This time, after publishing this article, we would like to concisely introduce the steps to realize the solution addressed in the article.
The contents we explain in this article are as follows.
- Creating objects on docutize
- AppsME settings on docutize
- AppsME settings on a mobile terminal
- Creating a customized layout
- Uploading the contents you enter with AppsME to docutize
Creating objects on docutize
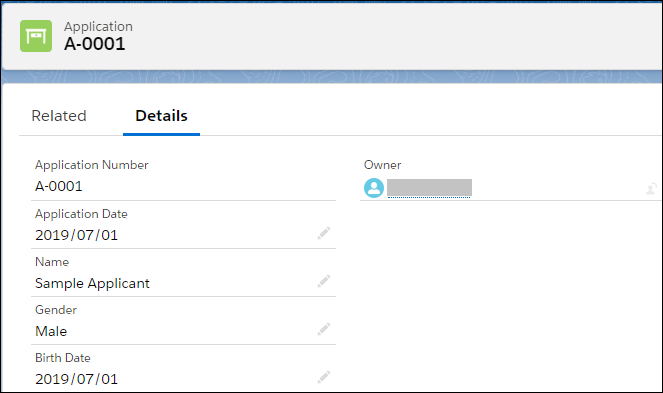
In this article, we will use an application object like this.
| Field Name | Type |
|---|---|
| Application Number (Record Name) | Auto Number |
| Application Date | Date |
| Name | Text |
| Gender | Picklist |
| Birth Date | Date |
| Postal Code | Text |
| Address | Textarea |
| Phone Number | Phone |
| Mobile Phone Number | Phone |
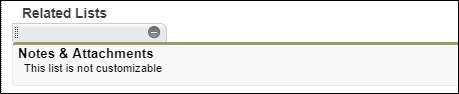
Besides, add Notes & Attachments to related lists because handwriting signatures will be attached to Notes & Attachments.
AppsME settings on docutize
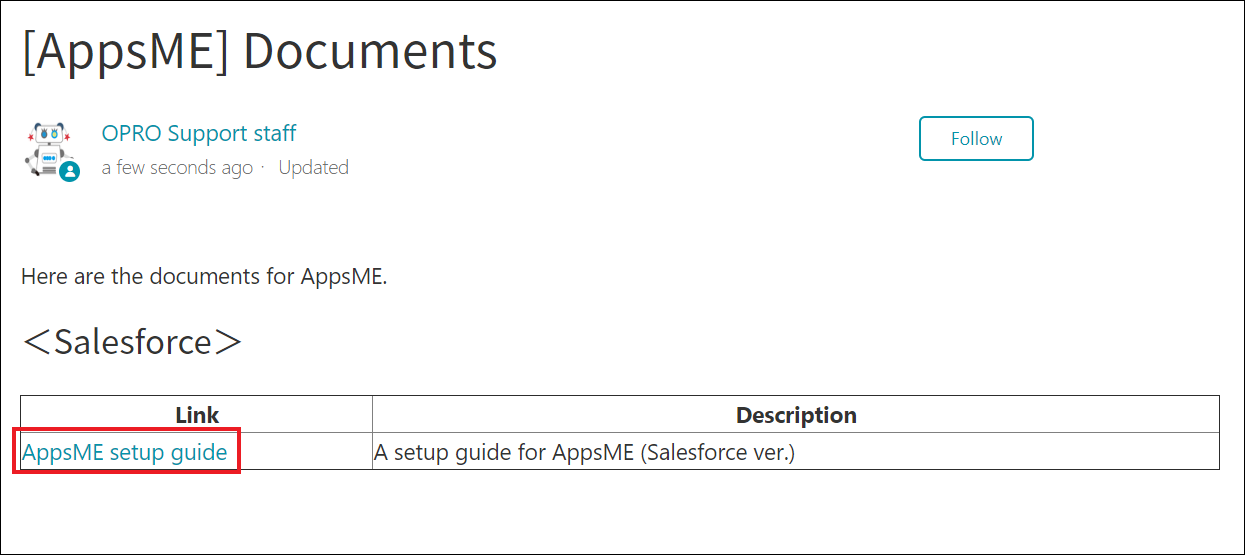
Refer to "2. AppsME Connector Config" and "3. Config on Salesforce" in "AppsME setup guide" listed on this page to setup AppsME Connector.
AppsME settings on a mobile terminal
Download AppsME mobile app and do login settings.
See the page below about downloading a mobile app.
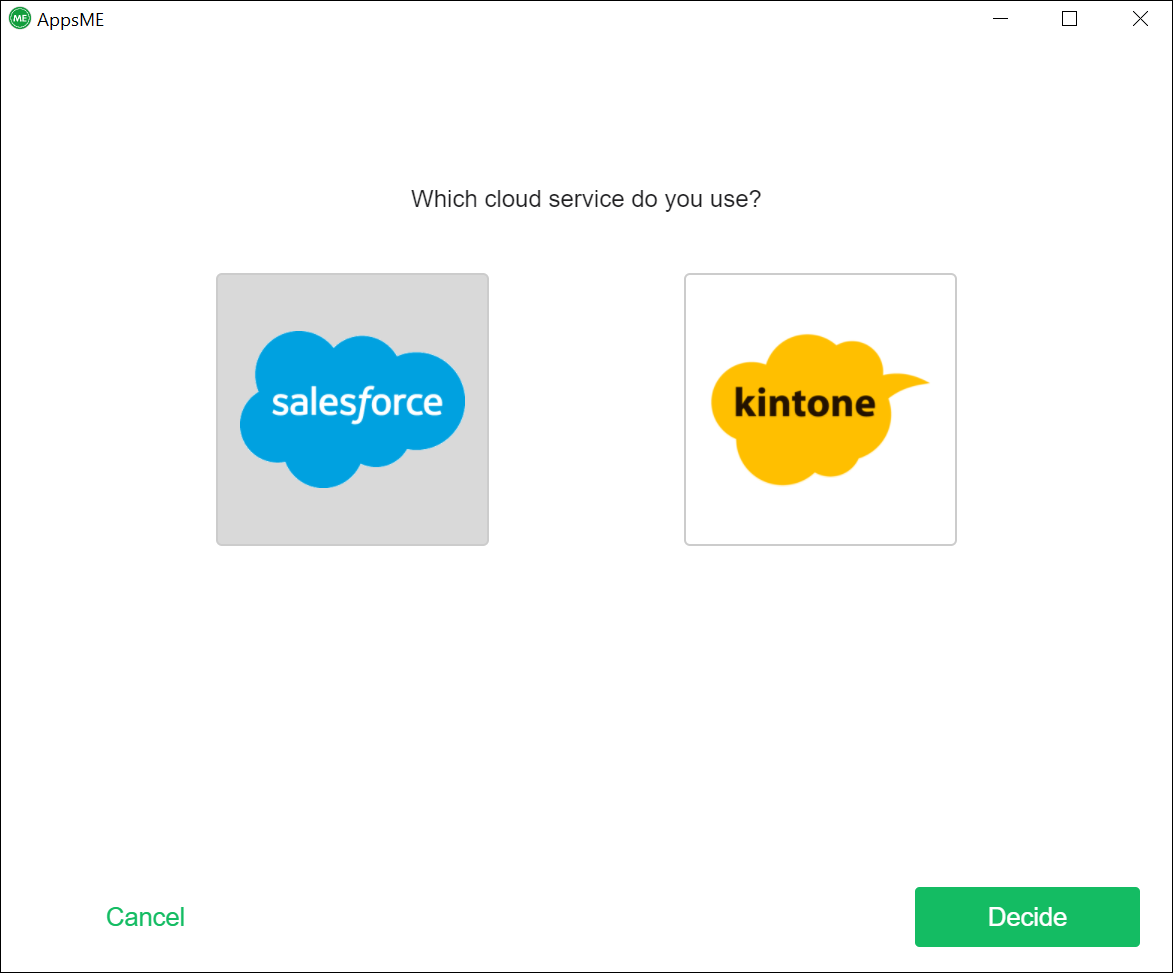
After launching AppsME, selecting cloud screen will be displayed.
This time, select "Salesforce" and tap "Decide".
AppsME (Salesforce ver.) will be displayed. Tap "Login" button.
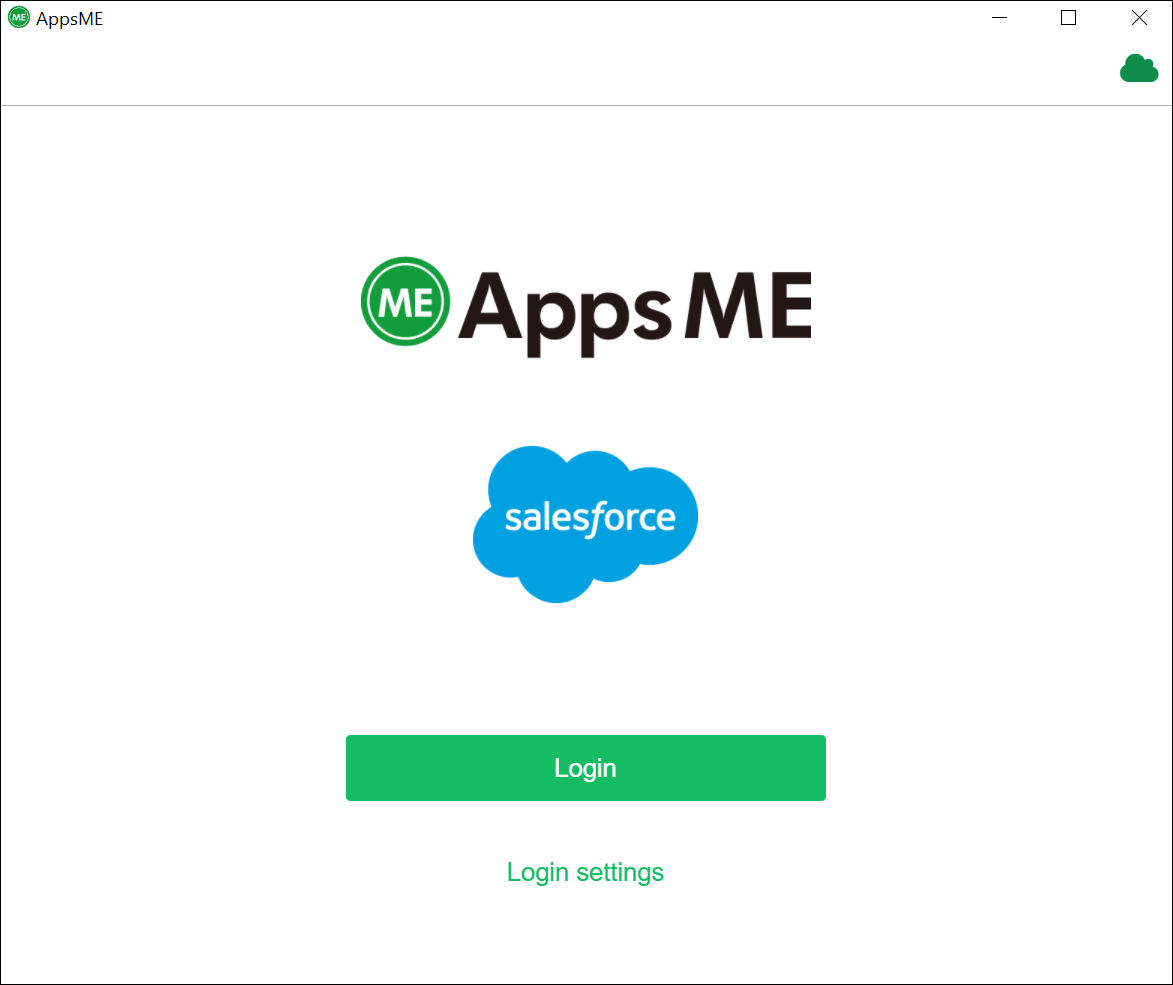
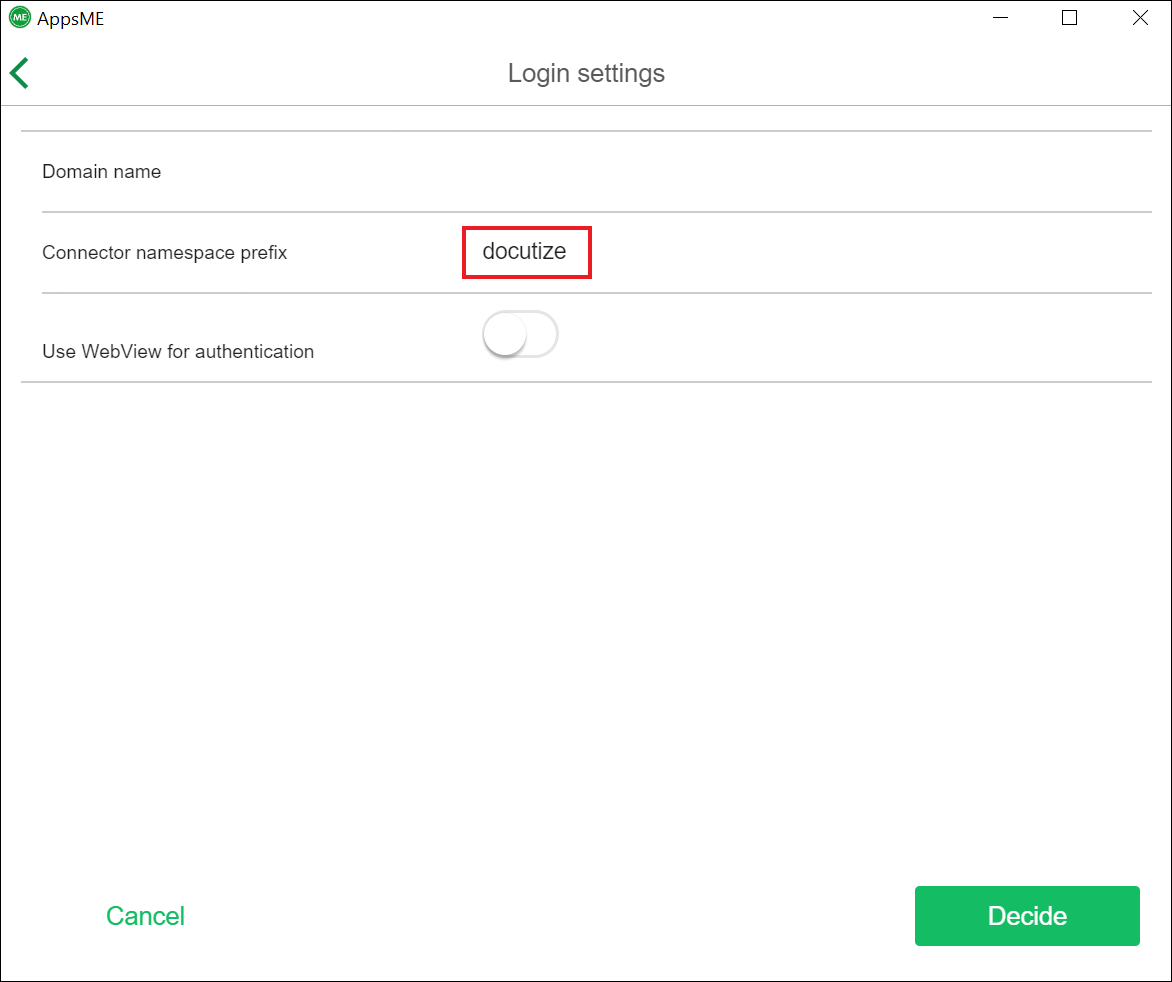
* If you use AppsME packaged in docutize, Tap "Login Settings", enter "docutize" in "Connector namespace prefix" and tap "Decide".
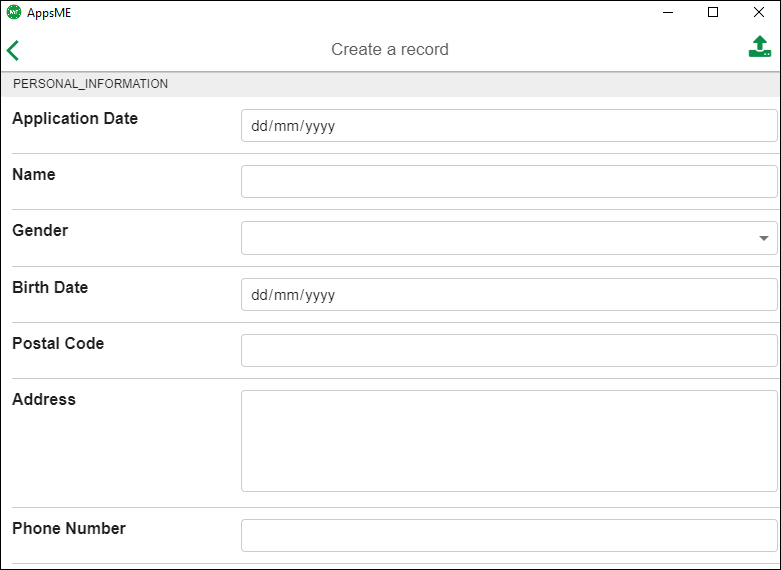
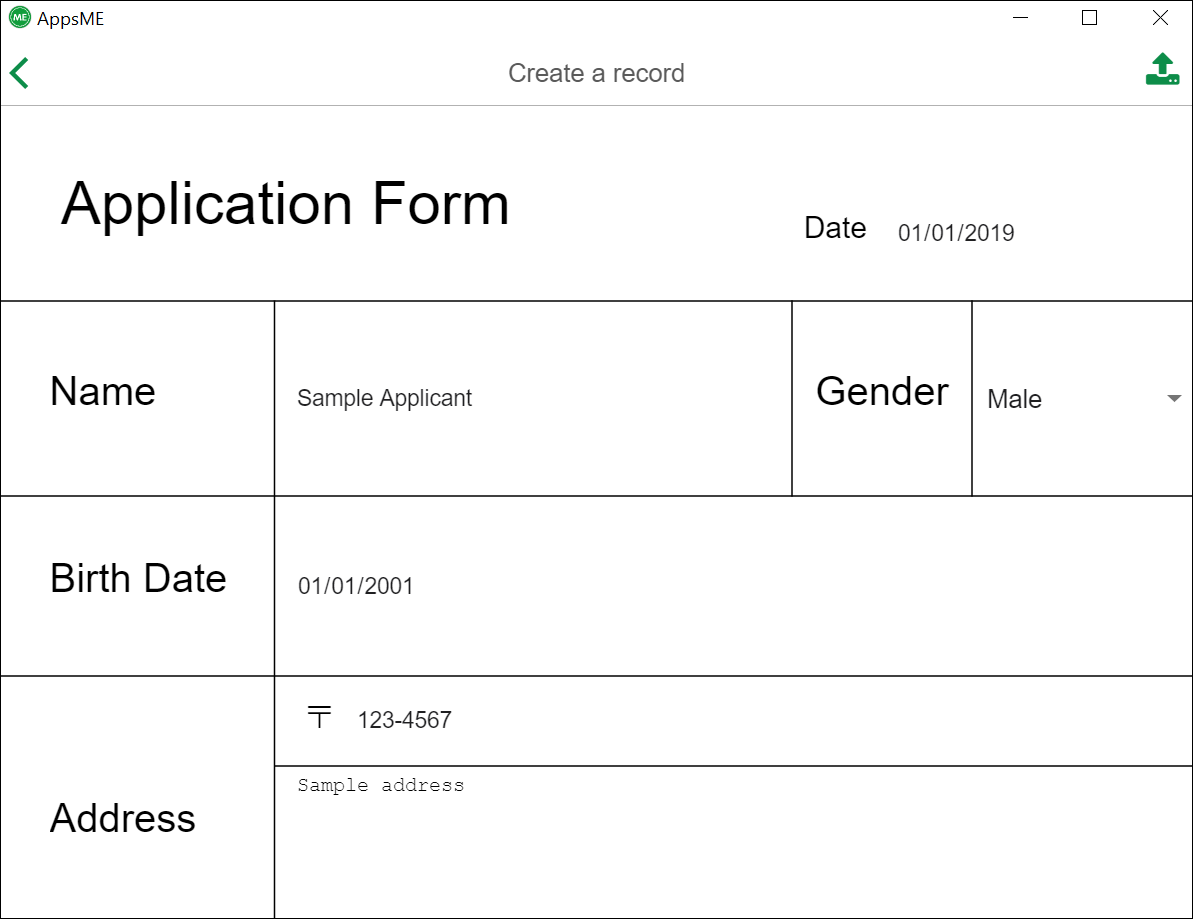
This is the screen to create a new record. This layout will be the same as that of paper application form if you deploy a customized layout and sync it.
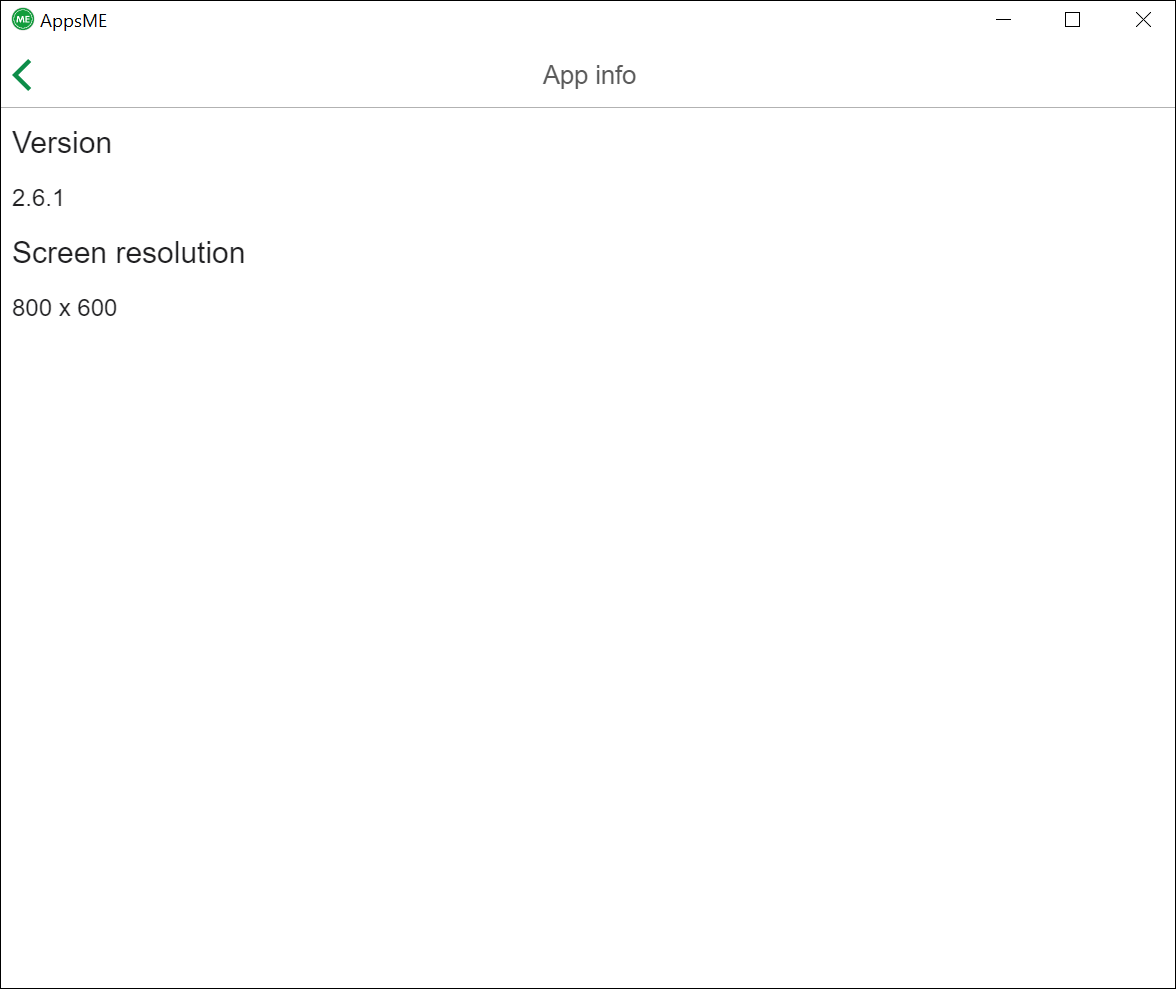
You also have to confirm device's logical resolution to create a customized layout.
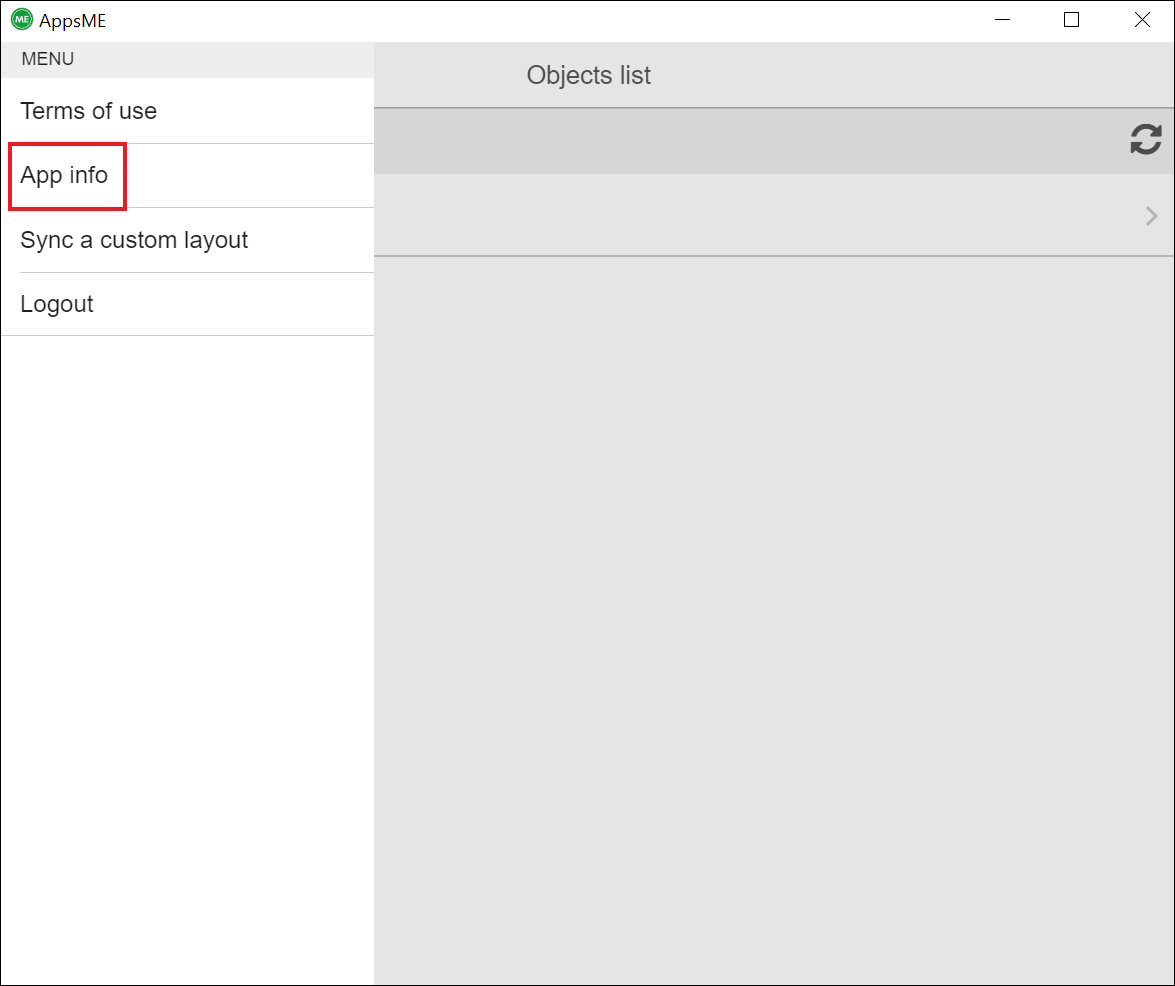
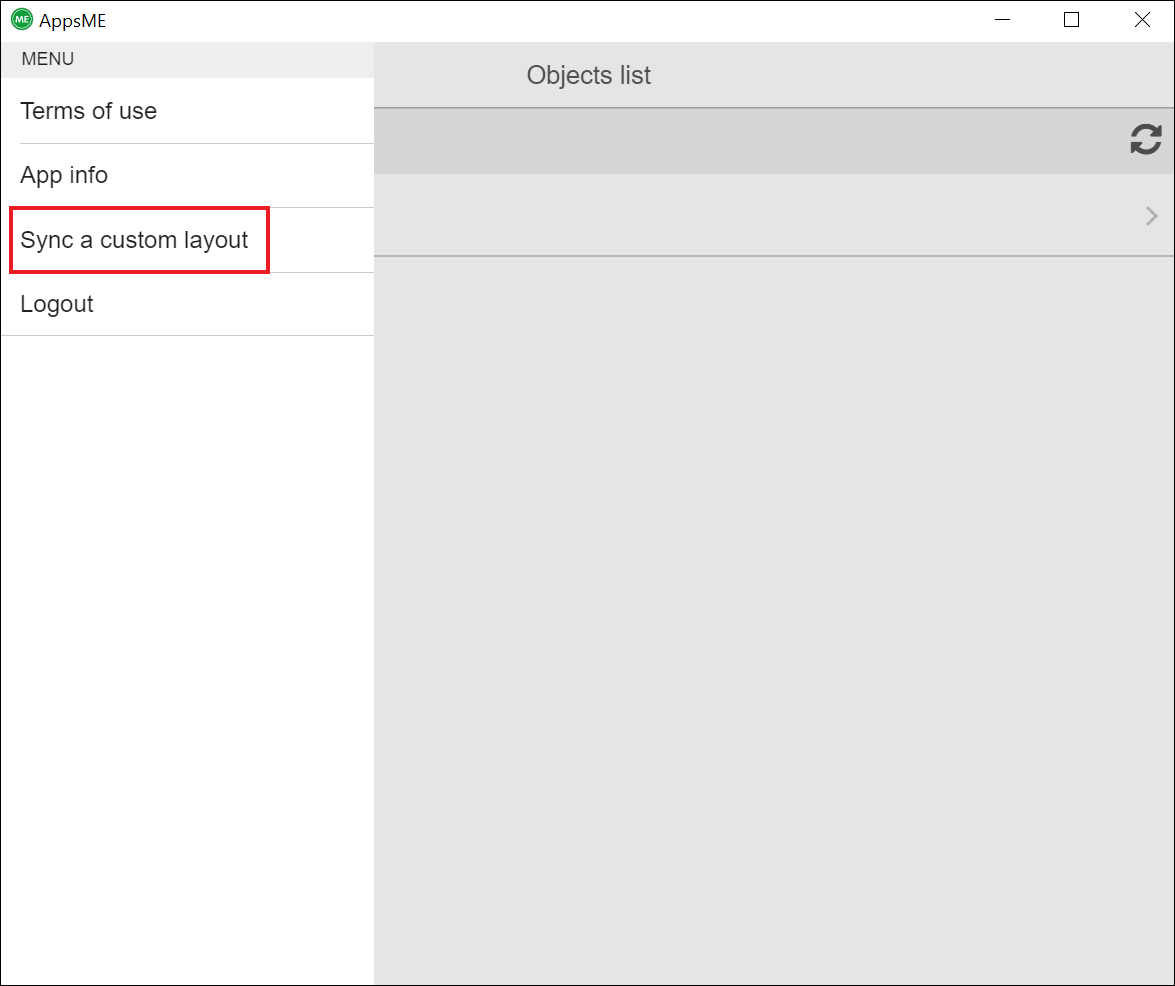
Tap the menu icon on the upper left side of "Object List" screen and tap "Application Information".
Note "Screen Resolution" value because you use it when you create a customized layout.
Creating a customized layout
Open AppsME app in Salesforce.
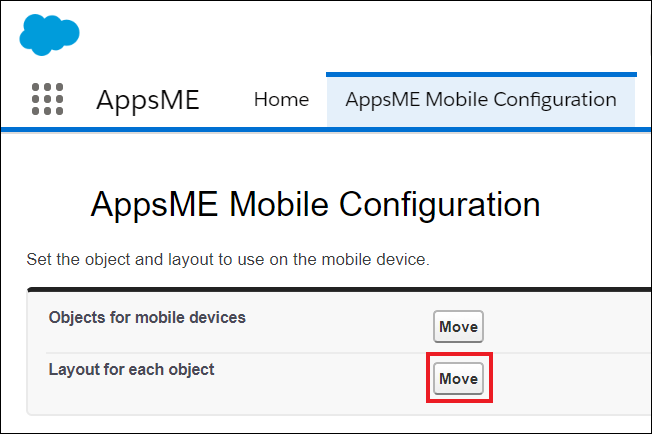
Click "AppsME Mobile Settings" > "Layout for Each Object" > "Move".
Click "Custom Layout" of the layout to be used in AppsME.
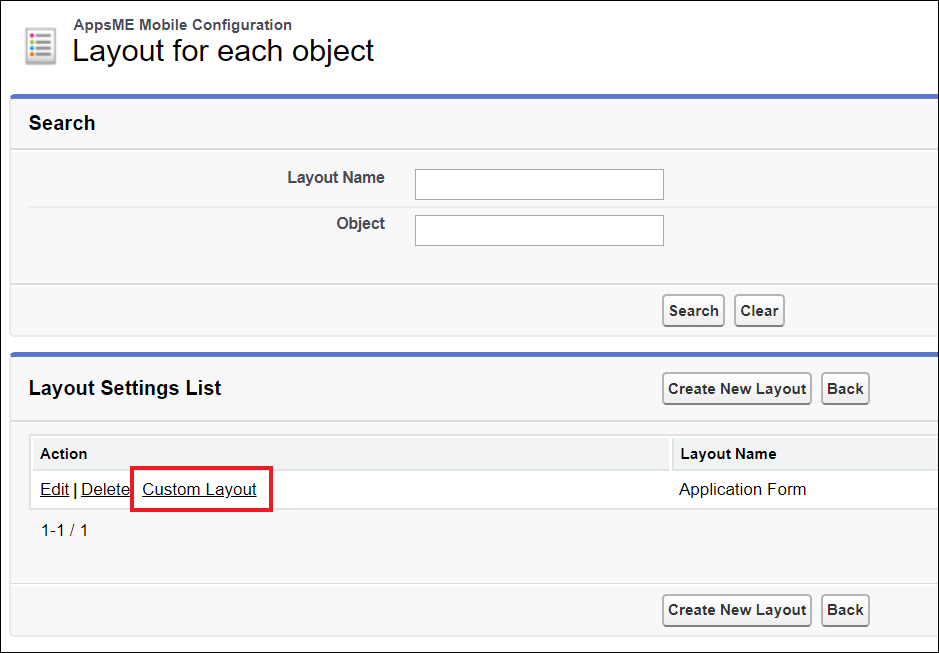
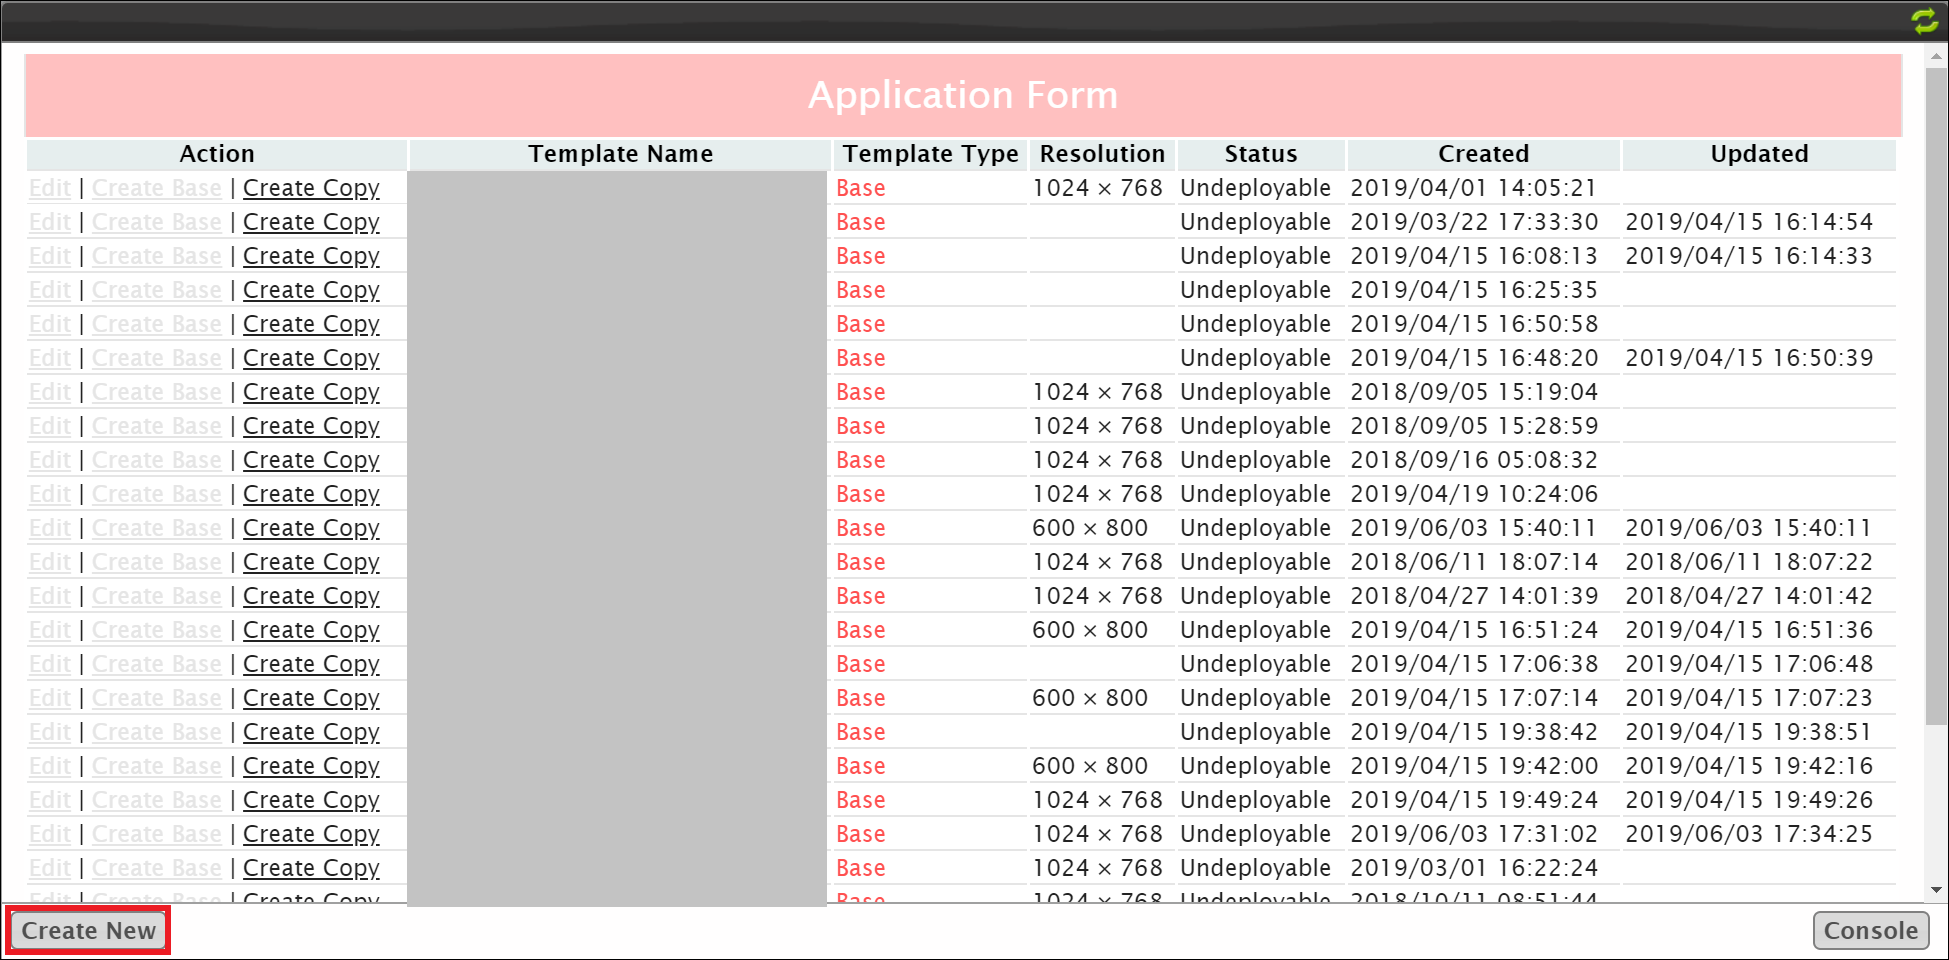
Click "Create New".
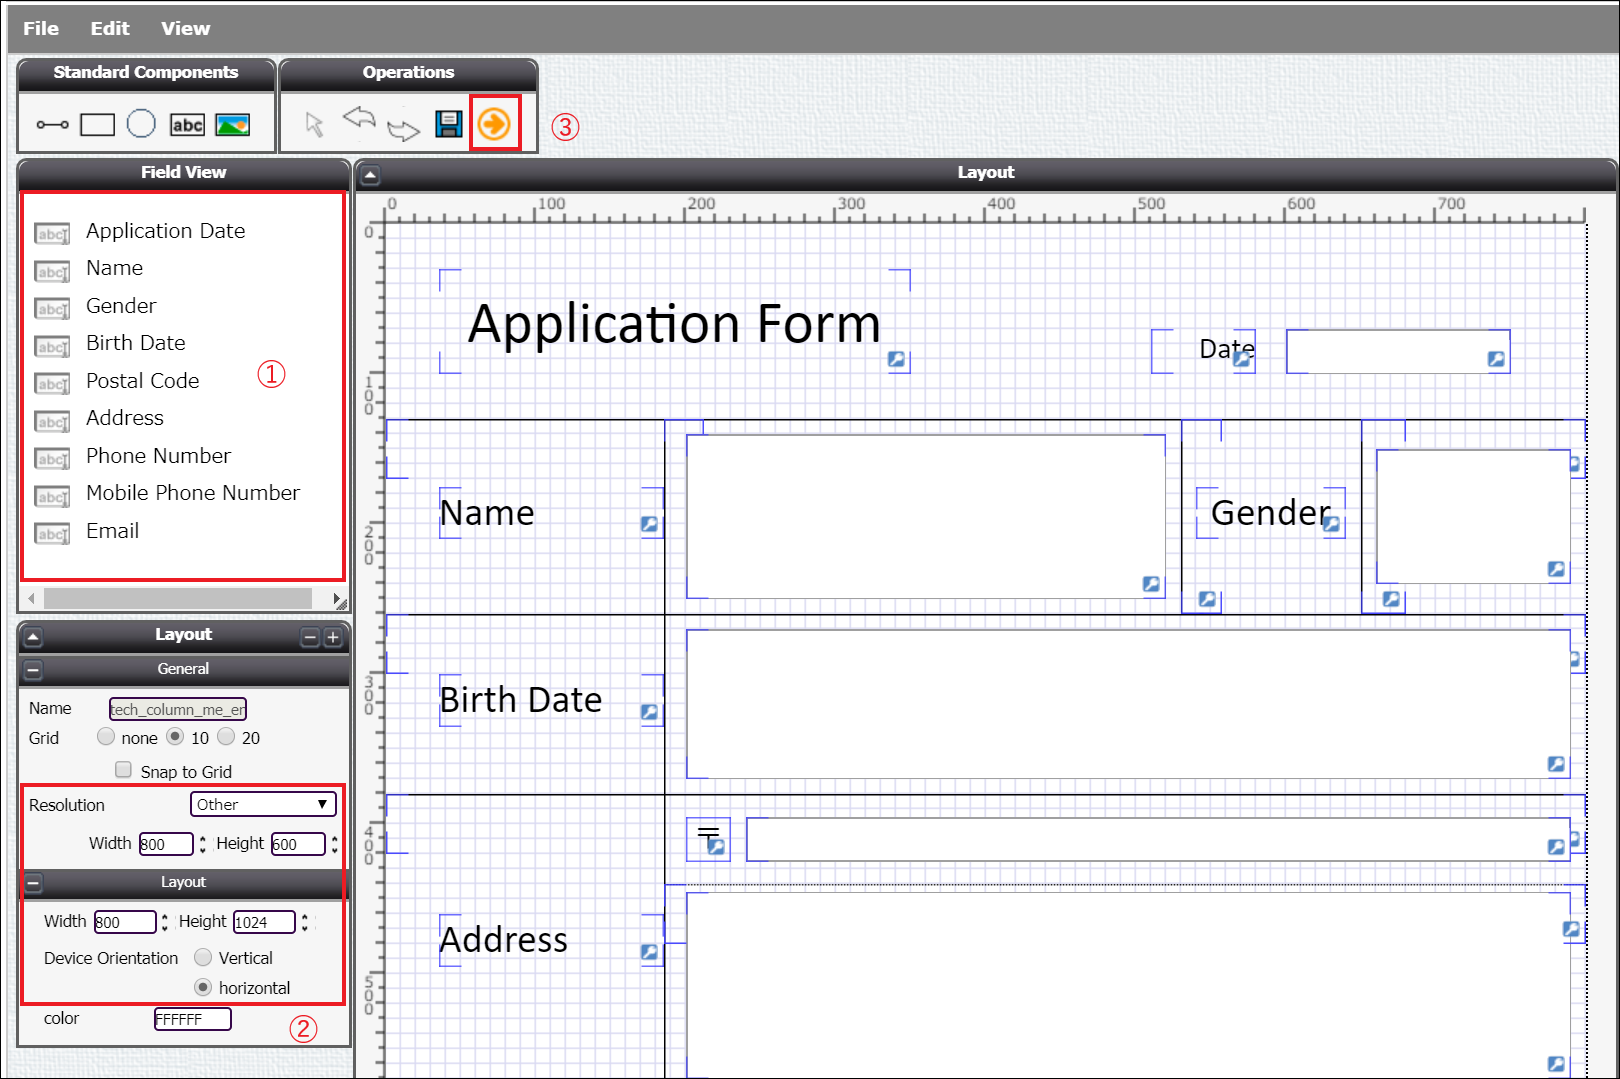
Create a customized layout in the following steps.
- Place object items at upper left (1) according to the layout you want to create.
- Configure resolution (2).
Select it from select list of "Resolution" for you mobile terminal ("Other" is selected because the author of this article used AppsME Windows ver.), then enter the screen resolution displayed in "Application Information" of AppsME mobile app for "Width" and "Height".
You can enter arbitrary values for the layout's "Width" and "Height".
You can also select preferred device orientation. - Save and click the arrow button at upper left (3).
Click "Deploy", and the customized layout is completed.
Uploading the contents you enter with AppsME to docutize
To begin with, sync the customized layout you created to the mobile app.
Tap the menu icon on the upper left side of "Object List" screen and tap "Sync Custom Layout". Doing this changes the record detail screen of the mobile app to the one that reflects the customized layout.
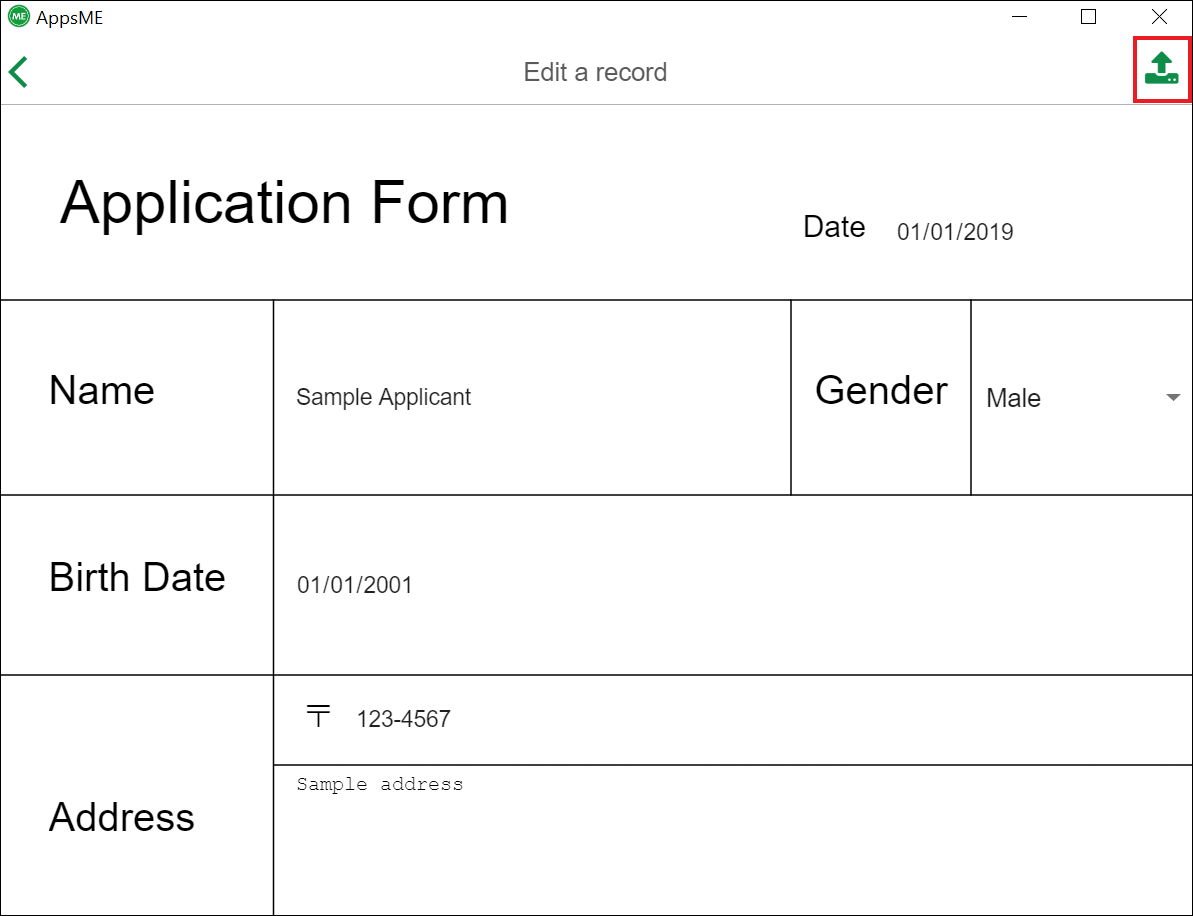
Tap the create-new button at lower right side of the record list screen to move to the record create screen. Enter necessary information and tap the save button at upper right.
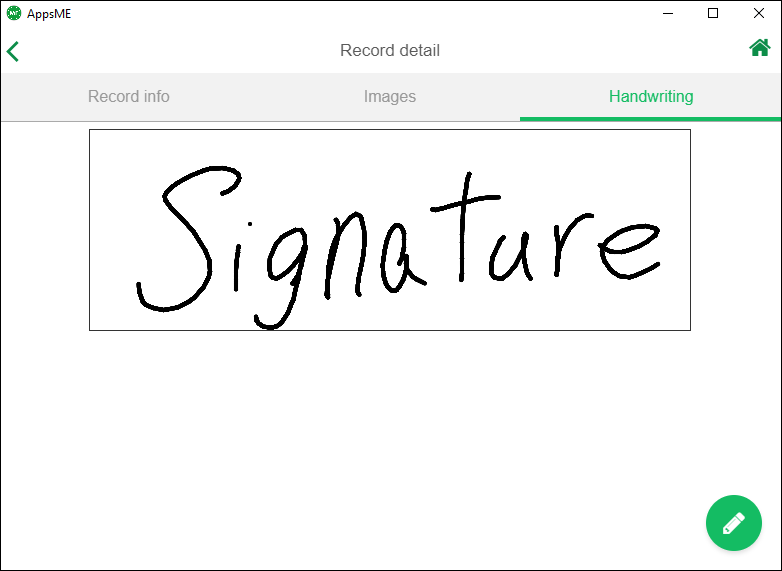
Move to the detail screen of the record you created, tap "Handwriting" tab, and tap enter button at lower right then you can write your signature.
The content of handwriting signature will be saved in the record's Notes & Attachments.
Saved record is automatically if you are in an online environment.
If the place where you enter information is offline, you can upload unsaved records by tapping the save button when you are in an online environment.
Conclusion
By following the steps introduced in this article, you can realize the solution introduced in this article.
AppsME has some characteristics such as
- You can reproduce the same layout as that of paper application form in order for users not to confuse
- You can use AppsME at reception desks even if connection id unstable because AppsME supports offline input
- Admin can restrict the items that can be entered from mobile terminals
- Uploaded application information can be instantly used in the cloud
and is the best application for application work.
We hope this article will help you introduce AppsME for application work at a reception desk.
Thank you for reading this article!